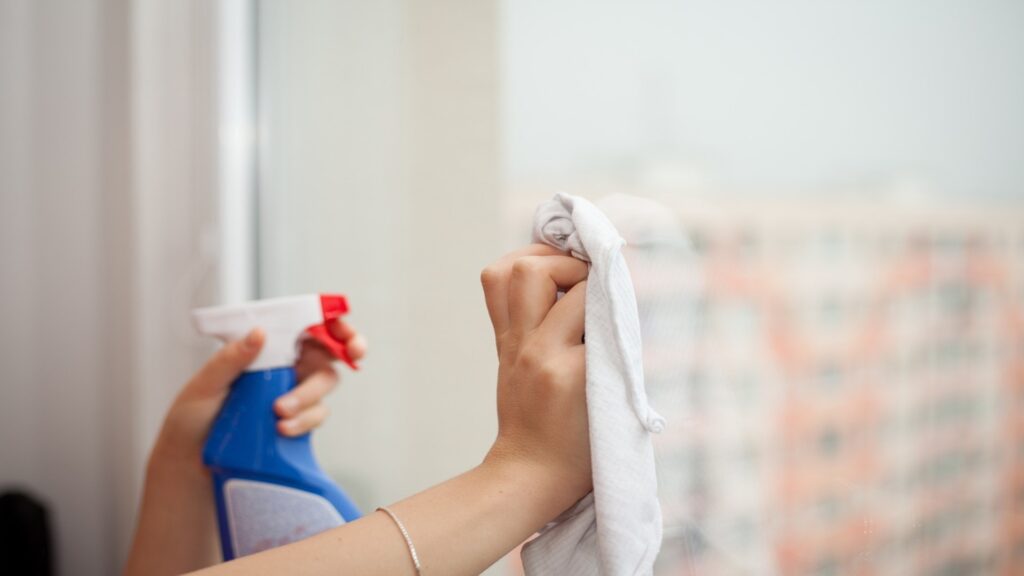
Dusting: Begin by dusting all areas and surfaces, including walls, ceilings, and floors. Use a soft cloth or a quality feather duster and make sure to reach even the highest spaces.
Microfiber Towel: Wipe down surfaces with a dry microfiber towel to catch any remaining dust particles. Microfiber is excellent for trapping fine dust particles that your feather duster might have missed. Gently wipe over any furniture, surfaces, floors, etc.
Vacuuming: Use a high-powered vacuum to collect dust and debris. Don’t forget to vacuum upholstered furniture (sofas, chairs, etc.) and curtains, as dust can settle in the fabric. You may be better off just washing your curtains.
Sanitizing: Follow up with sanitizers to disinfect surfaces, especially in areas where dust can carry germs. Use a disinfectant spray or wipes (Lysol is great!) to sanitize surfaces, especially in kitchens and bathrooms. This step not only ensures a cleaner home but also a healthier one.
Steaming: Use a steam cleaner for a deep clean, ensuring all surfaces are thoroughly cleaned and sterilized. Steam cleaning is an effective way to kill bacteria and germs while also removing stubborn dirt that regular cleaning might miss. This method is useful for floors and tiles, and maybe even your couches.
This multi-step process ensures a thorough clean, making your home move-in ready!

